Saturday 22 October 2011

The Jib - Cables

Originally the jib was going to have a single cable but that changed to a twin setup, partly for failure redundancy and partly to take out twist in the truss when its loaded.

Each end attaches to a small surface eye from a chandlers bolted onto the steel handle at one end and the aluminium truss at the other.


The rest of the hardware is also from a chandlers. The wire is slightly thinner than originally planned (2mm instead of 4mm shroud wire) but is still capable enough. The 4mm wire had a breaking strength somewhere in excess of 1500kgs, so with two of them, it would have been a bit over kill, and harder to work with. The thinner stuff is probably still way over 300kg each and even if one breaks (it shouldnt) it'll hold everything on its own happily.


The wire goes over the wooden tower cap which is screwed into the steel.


At the steel handle end a bottle screw attaches to the eyelet and a shackle attaches the wire which has been properly crimped into an eye to the screw. At the other end the shackle attaches direct to the eye without a bottle screw.


The cables sag down over the tower before being tightened.


Afterwards the wire takes the weight of the jib and adds a slight upward curve. once the camera head is attached the wire can be tweaked to give the right level of support. For now i'm running the cable slightly tight to see if there is any excess stretch and how much it'll move.


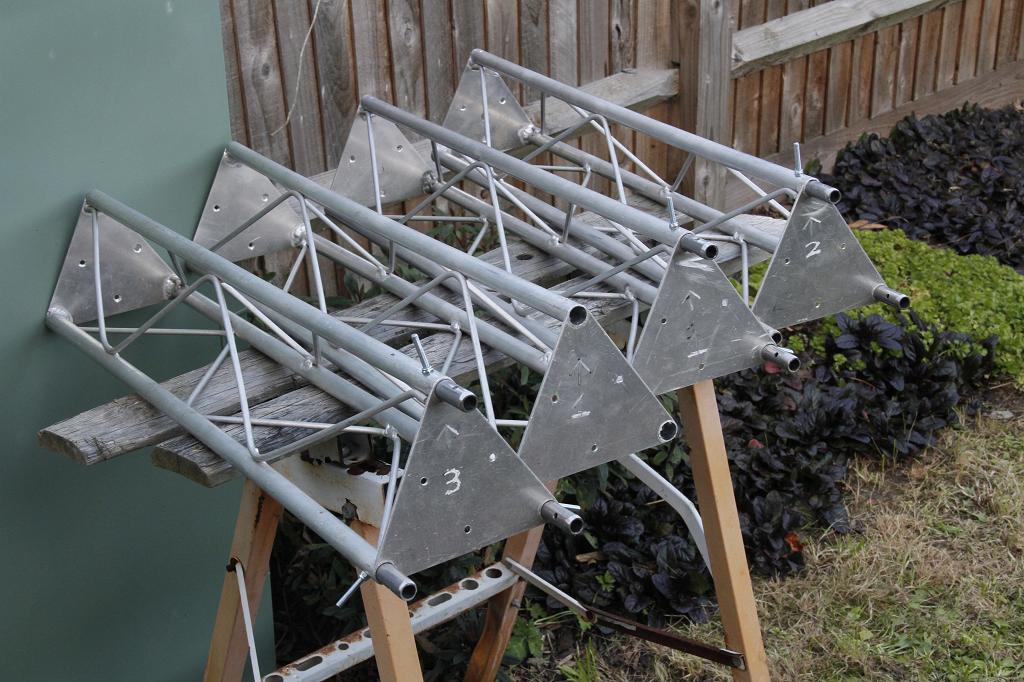
The last thing is to cut the metal brace to make room for the parallel bar which keeps the camera head frame level. One side is done, the other side needs doing and then the uprights can be attached to the pivot and the bar tested.


With a bit of luck it'll be ready for November, but with shorter nights its not looking quite as likely now.

Home Brew 101

Some friends have been making Cider at home for some time now, after finding a couple of friends who have a surplus of apples seemed like a good time to try it myself.

The basic idea is simple enough. Take apples, get juice, add sugar and yeast, leave it alone, drink. Ghettoing something for a press was an option, but in the end a quick trip to Milton Keynes for a proper press and scratter was probably the best decision ever (Thanks John and Vikki).

The scratter is basically a funnel with blades underneath that turn. The blades mesh together and tear the apples apart when the handle turns the gears, turning the blades.


A large bucket is essential :). We had just over 80 lbs to break up, once the apples were in the bucket they were compressed, but it didnt juice them as well as hoped. In the end they were mostly pulped in a food processor and then pressed.


This took most of the day to do and we eventually stopped when it got dark around 8pm. Even with all of this we didnt quite get through all of the apples or get the 5 gallons for the fermenting bucket.


We got 3.5 Gallons of juice form the apples which was pretty impressive and then topped up the rest with apple juice from Costco. You can just use all juice from cartons and it still makes nice cider.

I didnt take a picture of the hydrometer but is measures the specific gravity so you can calculate how much sugar is needed for a given target percentage. You could just add a lot of it and see what happens, but its best to have some kind of idea :). This should, in theory at least be around 10% give or take and take until the first week of December to finish fermenting.

More updates once its done and can be sampled

The Jib - Rear section

Because each piece is slightly different they're numbered on the end so its easier to fit them together in a hurry. 

The truss mounts onto a steel back plate which is welded to some box section and has 2 pivoting pieces. I thought i had a few more pictures of the rear section before it was welded up but apparently not. Its made from 1/8" 2" x 3" steel box section and 1/8" plate from the top brace, truss plate and the pivot reinforcement/tower support.


Fortunately, while I was doing things, Dave (http://www.davidportass.co.uk/) took a load of pictures as well as helping with the build so i actually have some that are both useful and look awesome.


The main pivot was drilled in stages due to the thickness (1/4" each side) and then fitted with the original 14mm bolt form the wheel (160mm pivioting rubber castor).


The pivot plate will eventually be mounted on to either a large camera tripod, or on to a custom tripod support. With the truss clamped to the steel the jib starts to look like a proper jib!


Thanks also to my dad and to Lee for helping with the test fit.


The truss already has some holes drilled in the end plates, however these aren't really sufficient in my opinion, so a new set of 6 holes (2 down each side). 


The drill and press are actually older than I am and got passed down when the home workshop got upgraded with bigger and better toold. Not having a garage or a shed of any size my workshop has to be flatpacked into a cupboard when i'm done so this is about perfect.


The wires for supporting the truss need to go over the central column once its raised, instead of cutting into the steel to make notches that will either wear the tower or the wires, an oak cap fits in. Considering it was made 300 miles away and posted down without being able to do a test fit, its pretty much spot on. 


Rounding the inside corners all thats needed and it fits in tightly. The two grooves will take the wires and stop them sliding off the side of the tower. A couple screws in the side and it wont pop back out.


More soon!

Long time, no post...

After a long spell away, finally getting round to sorting things out and putting up a few posts over the next few days. Mostly Jib work, but some other things too :)